
Audience: Franklin instructors and doctoral students looking to share Zoom session recordings with others.
In this article:
- Recording/Sharing Overview
- Recording Class Meetings
- Sharing Class Meetings
- Downloading Zoom Recordings
Recording/Sharing Overview
Zoom allows instructors to record class meetings either to your computer as a file or to the cloud online. If you record your class meetings to the cloud, then students can access the recordings online as well. There are a few nuances to know about with recording, so if you are having any trouble, make sure you read through this tutorial.
For more help with Zoom, check out their support site at: https://support.zoom.us/hc/en-us
Recording Class Meetings
To record a class meetings, you first need to create and start the class meetings. For instructions on this process, check out our article Zoom Overview for Instructors.
- IMPORTANT: The "Record the meeting automatically" option has been disabled for the entire University due to a lack of storage space. Even if you select this option, it will not turn on so do not use this option.
After you have joined your class meetings, recording is easy.
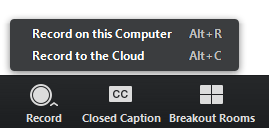
- From the class meetings view, click on the "Record" button at the bottom of the screen. This will give you the option to record straight to the cloud or to save the recording as a file.
- NOTE: If you want to share the recording with your students online, you must record to the cloud. Otherwise, if you save the recording to your computer, you will need to manually share the file with them through email.
- NOTE: If you want to share the recording with your students online, you must record to the cloud. Otherwise, if you save the recording to your computer, you will need to manually share the file with them through email.
- Now that you are recording, you can host your class meetings as normal.
- If you want to pause or stop the recording at any time, you can use the recording buttons at the bottom of the screen (where the "Record" button was) or the tools at the top, left-hand side of the screen.

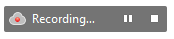
The toolbar in the top, left-hand corner of the screen indicates whether you are recording to your computer or to the cloud.
- Click on the "Stop" button to end your recording at any time or leave the class meetings to stop the recording as well.
- After recording videos to the cloud, you will receive an email once the recording is ready to view.
To view cloud recordings:
- Open the Zoom page from within your course. The Zoom page is part of the left-hand navigation in Canvas.
- On the Zoom page, click on the "Cloud Recordings" tab.
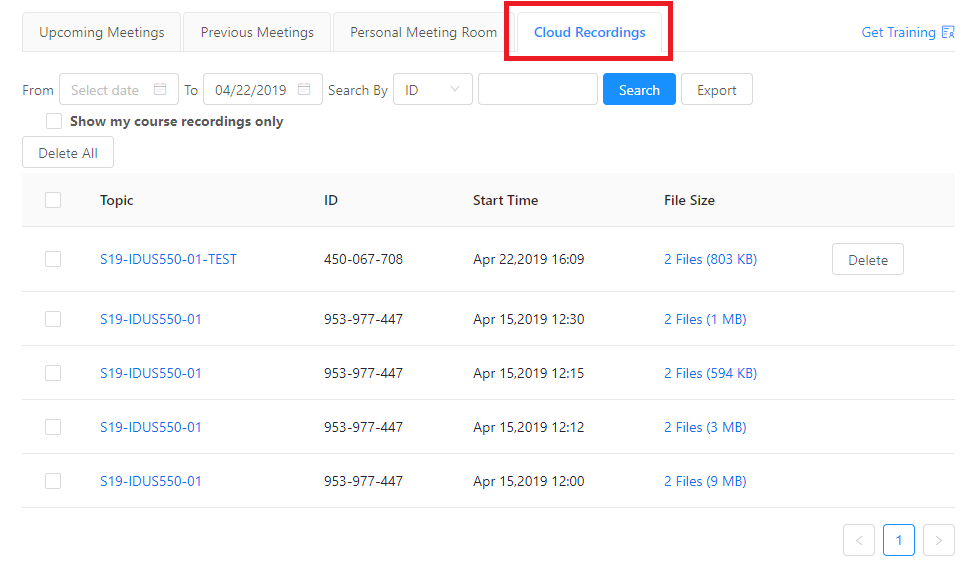
- Now you can filter and search for any class meetings. Click on the class meetings you want to view and click on it.
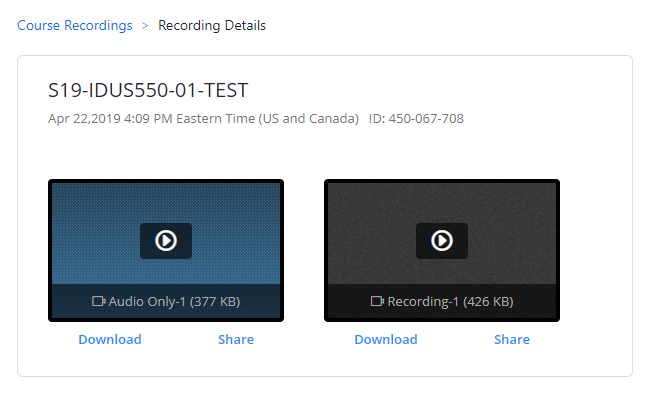
- From here, you can now either view, download, or share your recordings.
Sharing Meet Sessions
Once you have followed the steps above to record, sharing with students is automatic, as long as you have set up your class meetings properly. However, if you are not working with a class recording, instructions to obtain a shared link for the recording are in the section below this section. Here are some important things to note about sharing recordings.
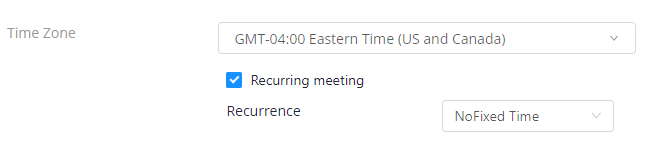
- Students can only view recordings from class meetings with a fixed time. This means you cannot share recordings with students from class meetings that have no dedicated time since the meeting technically never "ends". Once a class meetings ends, it then moves to the "Previous Meetings" tab so students can find the recording. This is the option you should not select if you want to share recordings:
- Recordings to the cloud begin uploading after you end a class meetings. This means recordings may not be available after a class meetings for some time, but Zoom will inform you by email once the recording is ready to view.
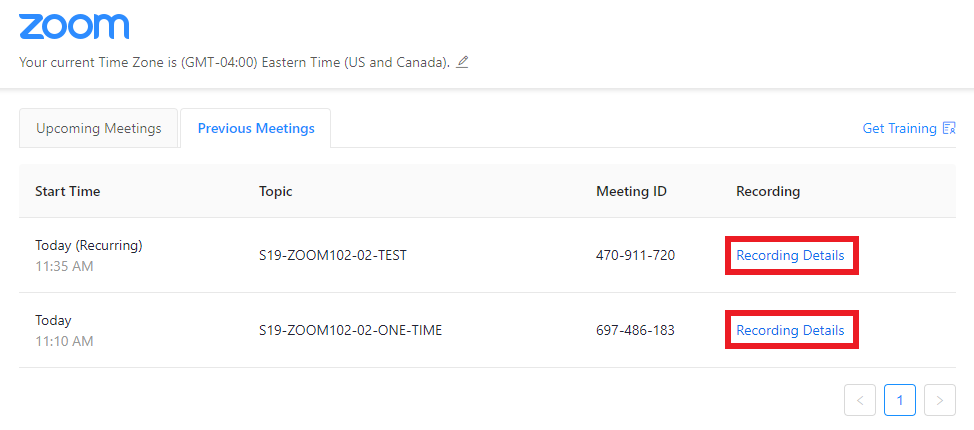
- After a session has ended and the recording is available, students can find the recordings in the "Previous Meetings" tab by clicking on the "Recording Details" link:
Downloading Zoom Recordings
Class Zoom recordings through courses are shared with students within Canvas, and do not need to be downloaded. However, if you need to archive an old recording, please see the steps below. Archiving can be used when you wish to save an old recording, as old recordings (not for current courses) are periodically deleted within the University Zoom storage space.
1. Sign in to the website franklin.zoom.us with your university credentials.
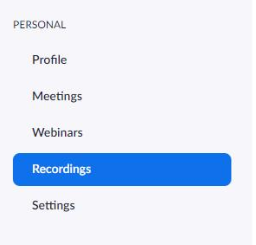
2. Go to the Recording section of the site.
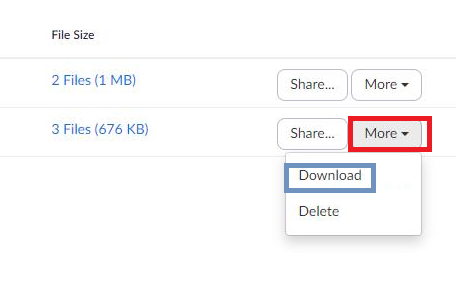
3. Find the recording you wish to archive. Use the More menu to find the option to download the recording. Sharing the meeting externally is not needed for course recordings. However, for non-course meetings, you can use this menu to get a link to share the meeting.
Wish to log a request with the Help Desk? Use your Franklin University username and password to login: Log A Request