
Audience: Franklin University staff
Disclaimer: This article only applies to the audience listed above.
Indexing is the process of adding keyword values to documents in order to search for content (retrieve), route items through workflow, report on content, and more. This guide covers indexing documents imported in batches using the OnBase Unity Client.
Please note that your processing may vary from the basic process described in this guide, depending on the configuration of the scan queue being used.
Indexing Documents
Perform the following steps to index a document using the Unity Client.
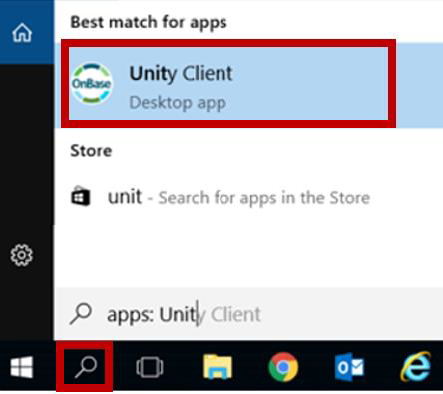
- Launch the Unity To do this click on the Windows (Search) Magnifying Glass -> type in Unity -> and select Unity Client to launch. It will use your Windows credentials to login you in.
- Select Batch Processing on the Home tab of the menu.

- Select the Status Queue or Scan Queue that includes the batch of documents you want to index. The column headings can be used to filter, sort and/or group the list of batches,
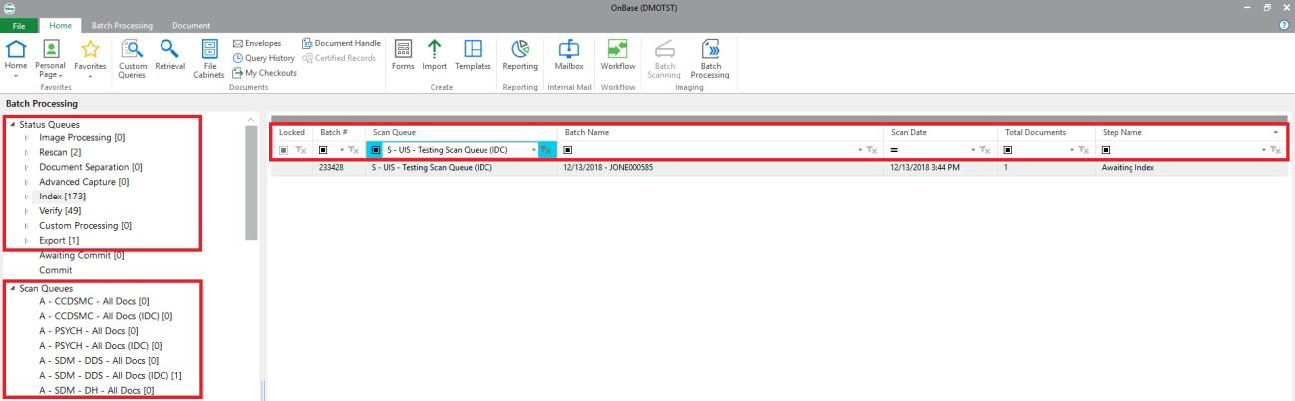
- Highlight the batch you want to index

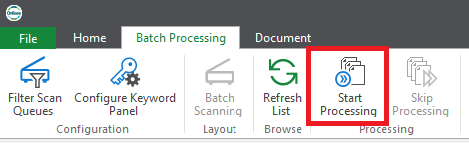
- Click Start Processing on the Batch Processing tab of the menu
- For each document/page in the batch:
- If a Document Type has not already been specified based on the scan queue or during pre-indexing (prior to scanning), choose a Document Type from the drop-down list.

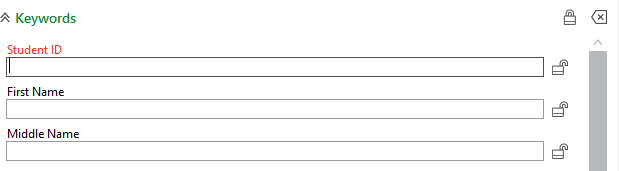
- Enter all applicable keyword values.
- Keyword fields labeled with red text are required keywords; the document cannot be indexed without these values.
- For student and employee documents, entering a valid Student ID or Employee ID and using the tab key on your keyboard should fill the remaining fields.
A lookup button may be available which allows you search for records based on partial information in order to fill the other keyword values. Click the lookup button, enter the information you have and click Find. Identify the correct result, select it and then click the Select button.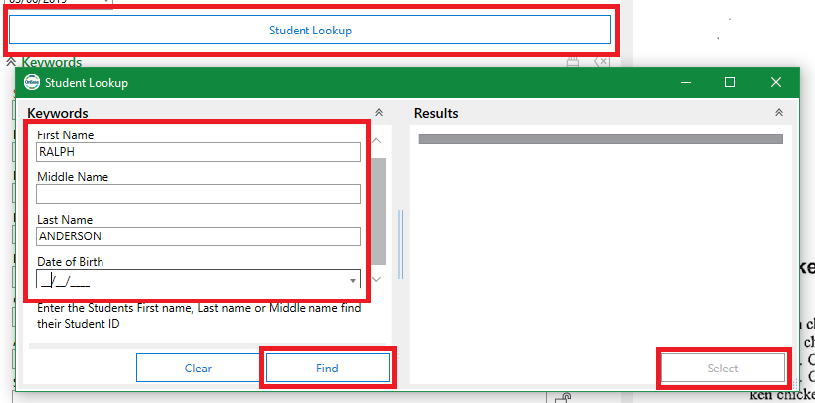
- If the same keyword value should be applied to following documents, click the lock icon to retain the value for that keyword type until the lock is removed or the batch is complete.

- Some keyword types have a set of allowable values to use during indexing. If a drop-down list of values is available, you can begin typing a value to filter the list down to entries that match the entered text.

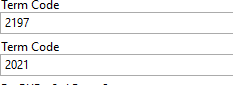
- Double click a keyword field label to add another instance of that keyword value (for example, if the document applies to two semesters, you can double click the Term Code keyword to enter values for 2197 and 2021). Note: This is not available for all documents.
- Keyword fields labeled with red text are required keywords; the document cannot be indexed without these values.
- You can rotate pages if necessary, using the buttons at the bottom of the left side panel or on the Image tab of the menu.

- Once you are ready, click the Index button at the bottom of the left side panel.

- If the page or document should be deleted, click the Delete button at the bottom of the left side panel.

- If the page should be added to the previous document, click the Append button at the bottom of the left side panel.

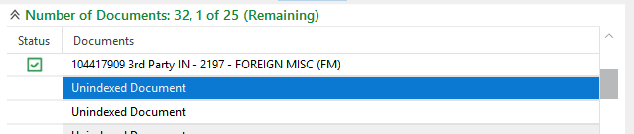
- The document now shows as indexed in the list of documents in the batch.
- If a Document Type has not already been specified based on the scan queue or during pre-indexing (prior to scanning), choose a Document Type from the drop-down list.
7. When all documents in the batch have been processed (or if you use the Stop Indexing button in the middle of a batch), you will be prompted with thefollowing options. Select the appropriate.
In most cases, Save and Transition will be the correct option in order to move the batch to the next processing stage.
If you need to step away but have not completed indexing all the documents in the batch, click on Save and Close to continuing indexing the batch at a later time.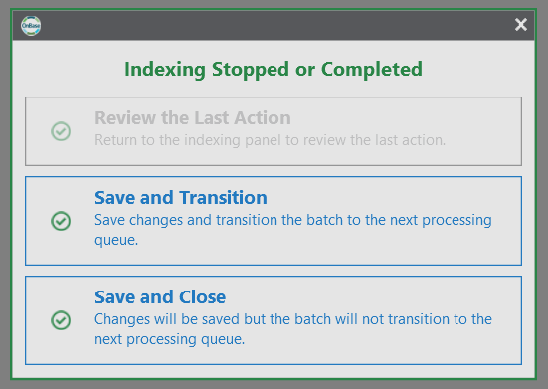
Re-Indexing Documents
Re-Indexing documents allows for keyword values on stored documents to be modified/corrected, along with changing the document type if necessary. Please note that not all users will have the ability to perform re-indexing. The following is the process to re-index a document using the Unity client.
- Retrieve a document using the procedures in the Retrieving documents – Unity Client
- If necessary, view the document in the Document Viewer. You can also openthe document in a new window by clicking the result in the result
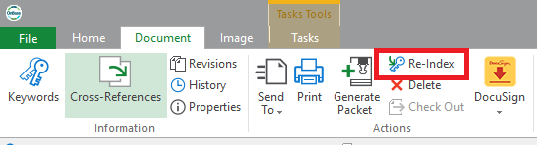
- Click Re-Index on the Document tab of the menu
- Update the Document Type and/or keyword values as necessary and click Re- Index at the bottom of the panel to save. Any keyword fields with a red label are required and the re-index cannot be completed without values in those fields. Never change the file type.
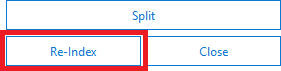
- The Split button will open a document separation window, which can be used if the document should be split into multiple documents as part of the re-indexing (for example, if some of the pages should be re-assigned to a different document type). Make the desired changes then click Save and Close All.