
Audience: Any user who has been invited to join a Microsoft Teams meeting
Disclaimer: The results and functionality of the following article only apply to the audience listed above.
Please review this article if you have scheduled a virtual meeting or have been invited to one using Microsoft Teams. The following procedure will help you join the meeting without having to register for an account or download any software if you do not wish to.
Topics
1. Receiving a Teams Meeting Link
3. Meeting Controls and Screen Sharing
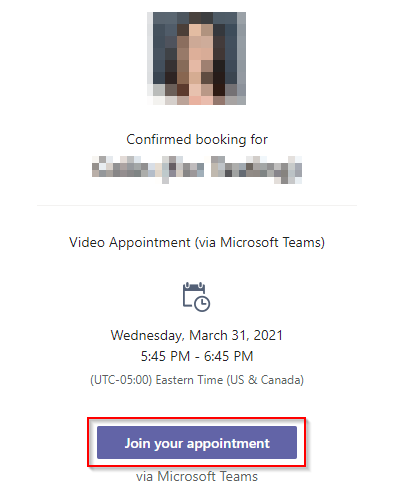
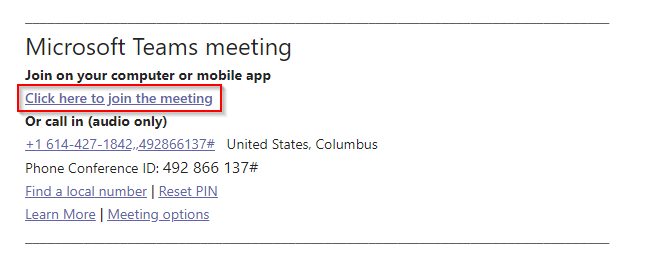
Receiving a Teams Meeting Link
Joining the Meeting
- With the Microsoft Teams app on a computer (preferred)
- Through a web browser on a computer
- Through the Microsoft Teams app on a mobile device
- By dialing in to the meeting via a phone call (least preferred)
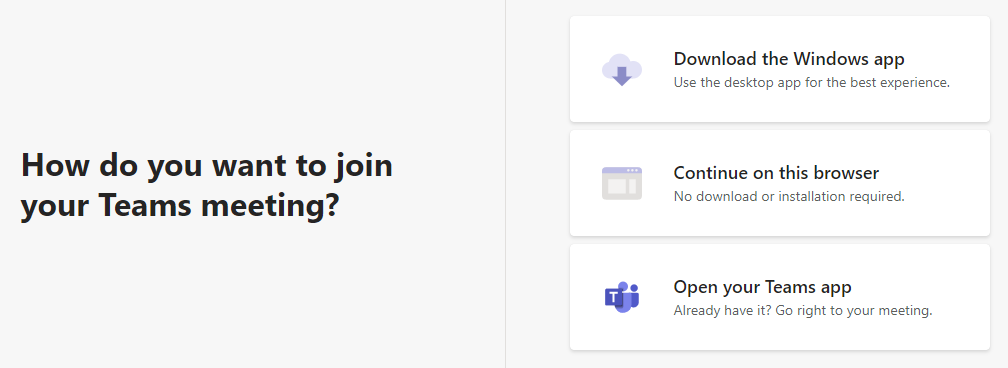
When clicking on one of the meeting links referenced above, a page will load in your default web browser presenting you with a few options to join:
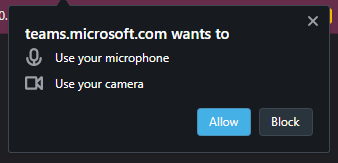
Your web browser may now ask you to use your microphone and camera if this is your first time joining a Teams meeting. Please click "Allow" on this prompt. It will look like this or something similar:
Once you have allowed Teams to use your microphone and camera, you will be taken to the meeting setup screen:
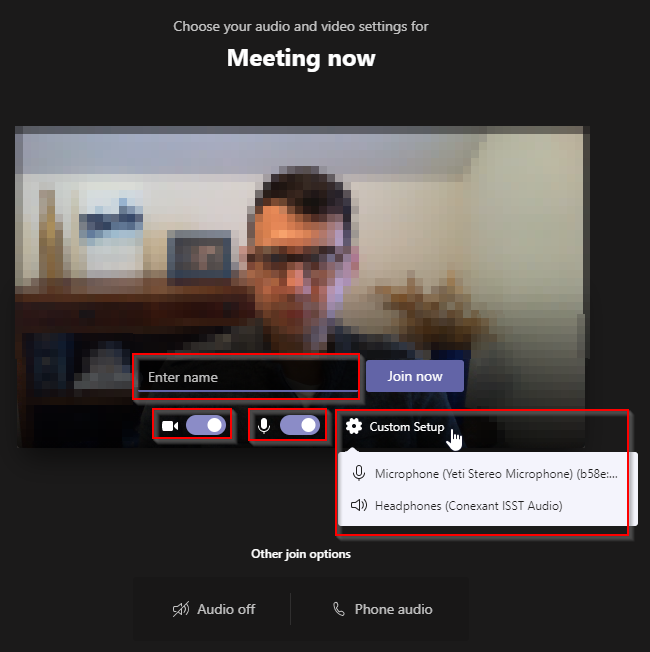
On this screen, you can enter your name as well as test out your microphone and camera. Clicking on the small gear will allow you to change microphone/camera devices if you have more than one connected.
When you are ready, click "Join now," and you will be taken to the meeting.
Meeting Controls and Screen Sharing
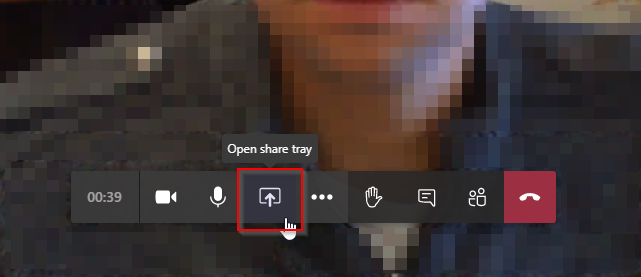
While in the meeting, you will have several controls available to you. You can turn your microphone and camera on and off, initiate a text chat, raise your hand, and view the participants currently in the meeting. Let us focus on the screen sharing function for this next section. This will allow you to present what is showing on your screen to the other participants of the meeting. To begin screen sharing, click on the Share icon in the center of the meeting controls.
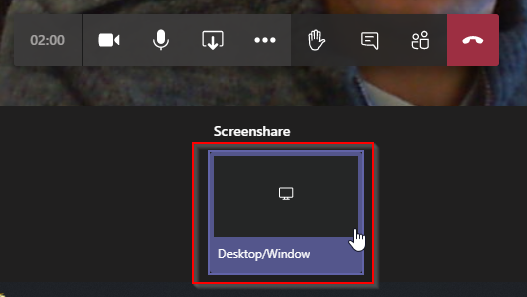
You will now receive an additional menu that likely has only one option: Desktop/Window. Select that.
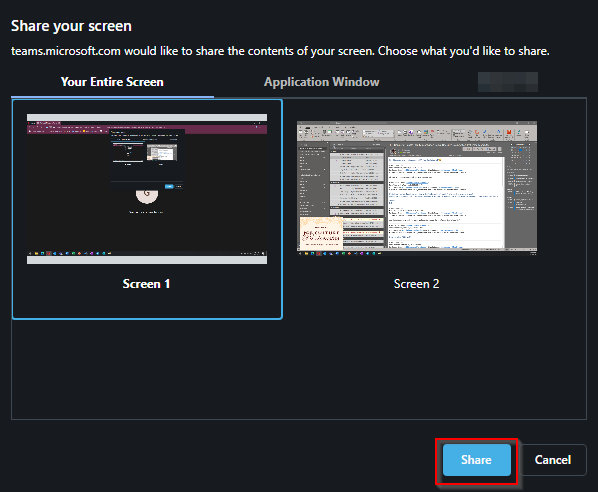
Another choice will appear. You can choose to share your entire screen or just one specific application (such as Microsoft Word, if you have a document open). You can also choose which screen to share if you have more than one screen. When you are ready, click "Share" to start presenting your screen.
While your screen is being shared, the following message will be displayed on your screen:

You can stop sharing your screen by clicking on "Stop sharing" or by clicking the share icon in your meeting controls again:
